
Aluminum Wheel Refinishing
Click on any picture for larger format (make sure photo is not FIT TO PAGE)
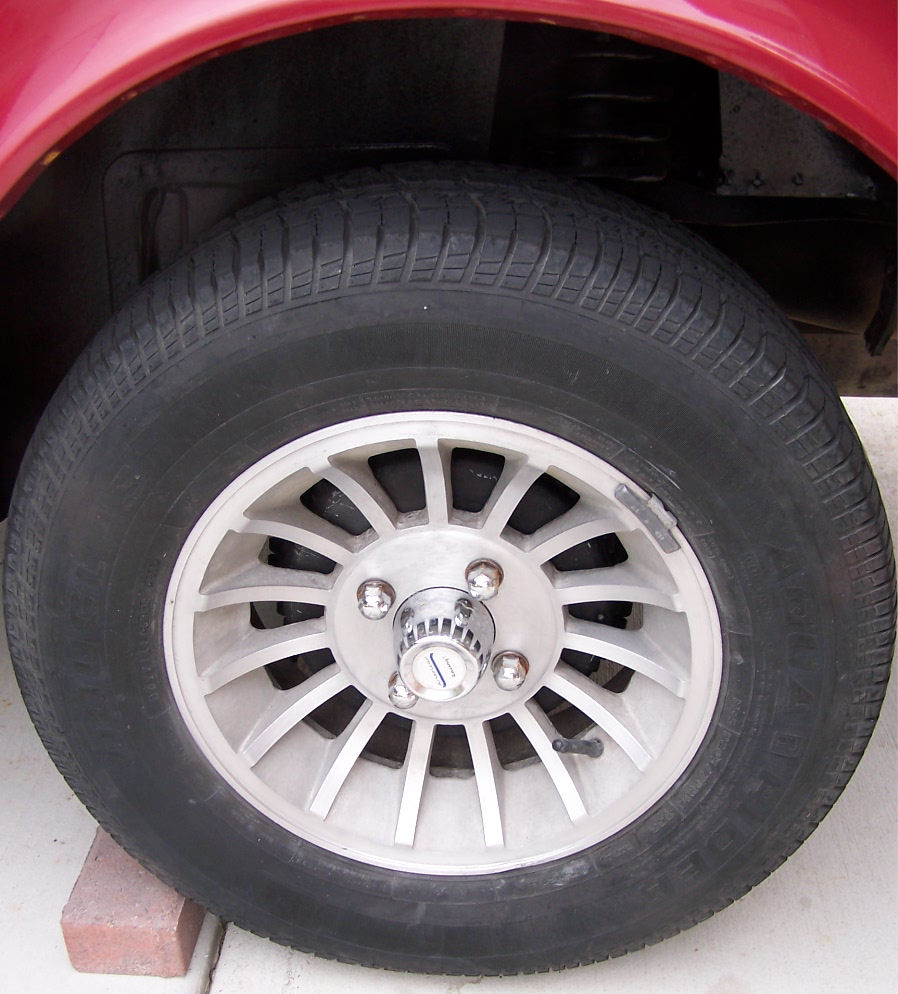
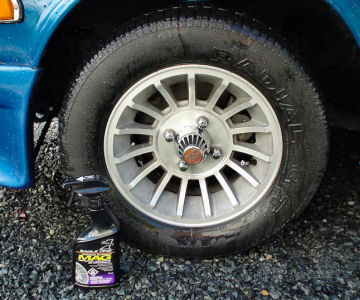
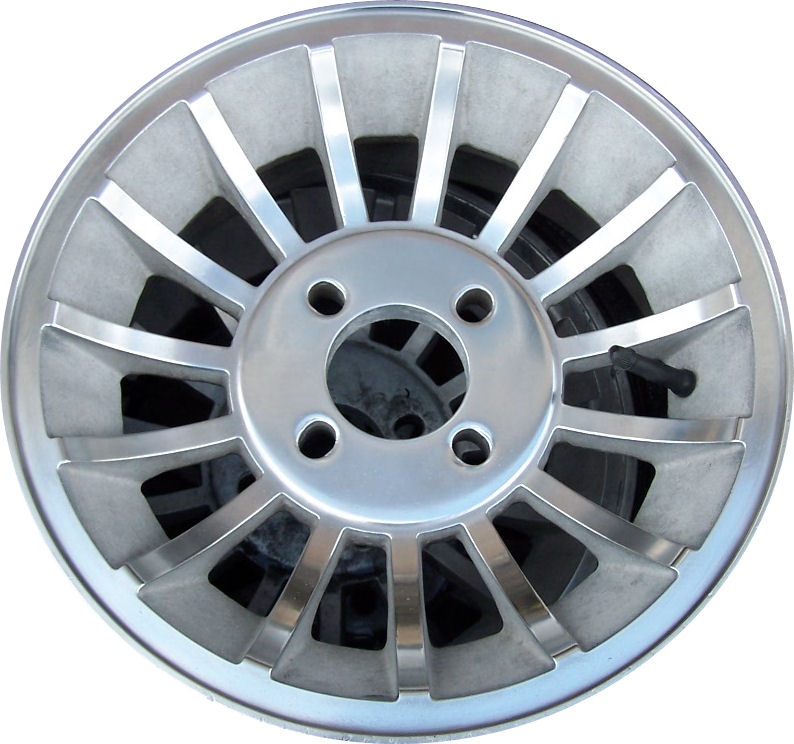
These wheels came with my 240z when I bought it. They are nice looking aluminum wheels. Refinishing aluminum wheels is essentially the same for every wheel. However, the design and intracacies of each wheel will vary the time needed to refinish them. The finish on the wheels was getting pretty dull. They had plenty of lime build up as well as dirt and brake dust through the years. The car basically sat four years before I bought it, so the wheels were weathered as well. So, it was time to refinish them. I refinished a set of wheels on my 84 Z31, so I've been there. I took a slightly different approach on these wheels, but was looking for the same result (polishing the untextured surfaces). You can also refer to the link just shown for detail on a simpler wheel (though this wheel is pretty simple, too).
Click on any picture for larger format (make sure photo is not FIT TO PAGE)
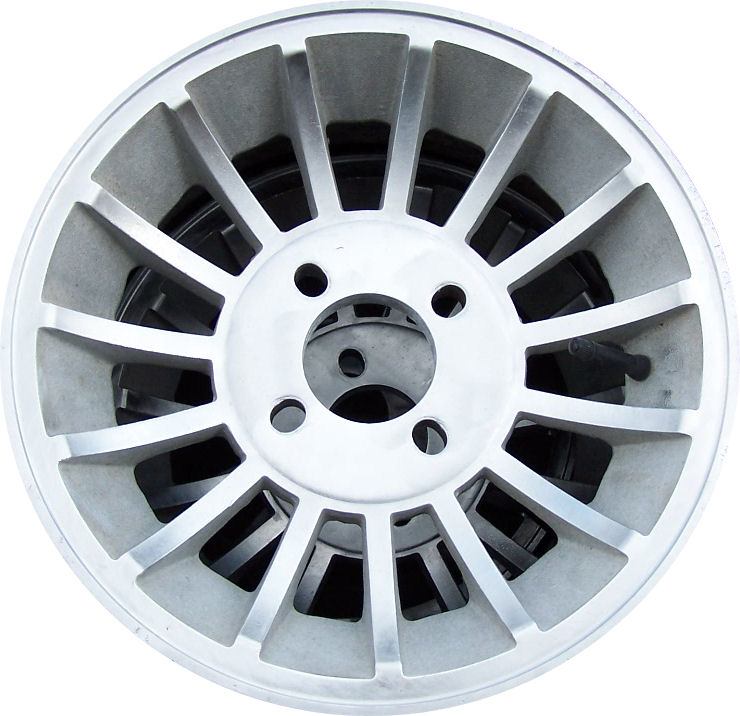
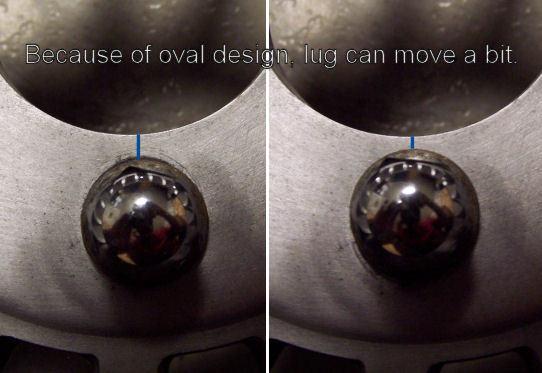
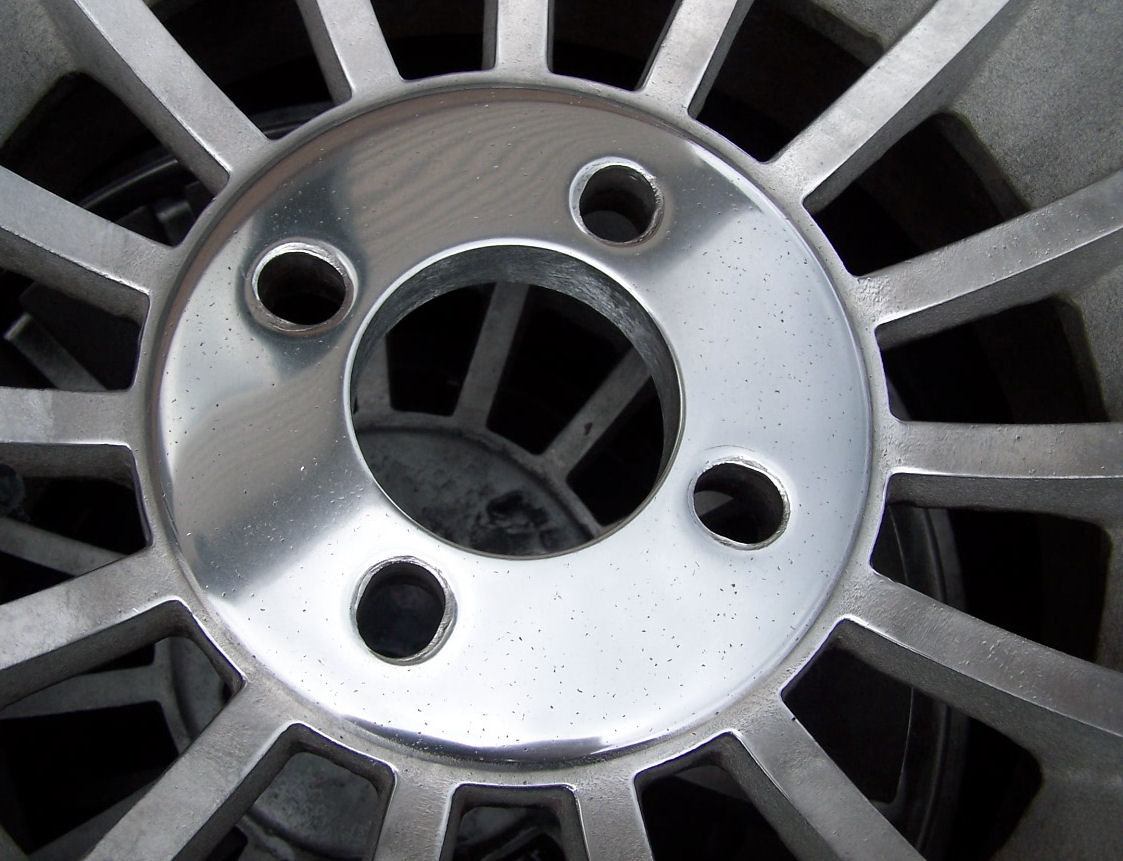
I had another reason to do a bit of work on these wheels -- they are a unilug design. Each lug hole is slightly oblong, allowing use of this wheel for a couple 4 lug patterns. Turns out one of the previous owners was idiotic and used acorn (steel wheel) nuts to put them on, which tapered the lug holes. This made the wheels even harder to install because the acorn lugs displaced some aluminum into the holes. One wheel that was particularly abused was nearly impossible to mount. The lugs were later replaced with proper lugs by another owner, but a few didn't have washers and were doing damage, too. In each lug hole, there was a small bump on each side, probably to keep the lugs steady, but they were worn out a bit from the poor applications used previously. Since the now correct lugs had some rust and wear, I bought a complete new set of lugs for the wheels - much nicer. I asked on Z31.com what the model and brand might be - the Western Cyclone was suggested, and it looks pretty similar. Then I stumbled upon a link on AtlanticZ on cleaning wheels. Exact same wheel! The Western Wheels "Hurricane". The basic spoke design is referred to as a turbine.
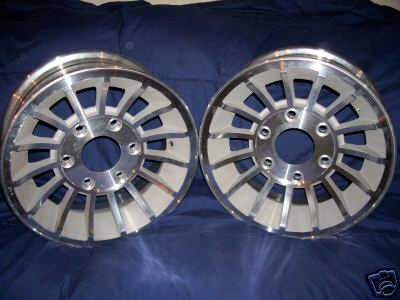
Picture of Western Cyclone 2 (Left) - Same Wheel as mine on Another Z (Right)
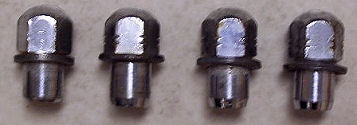
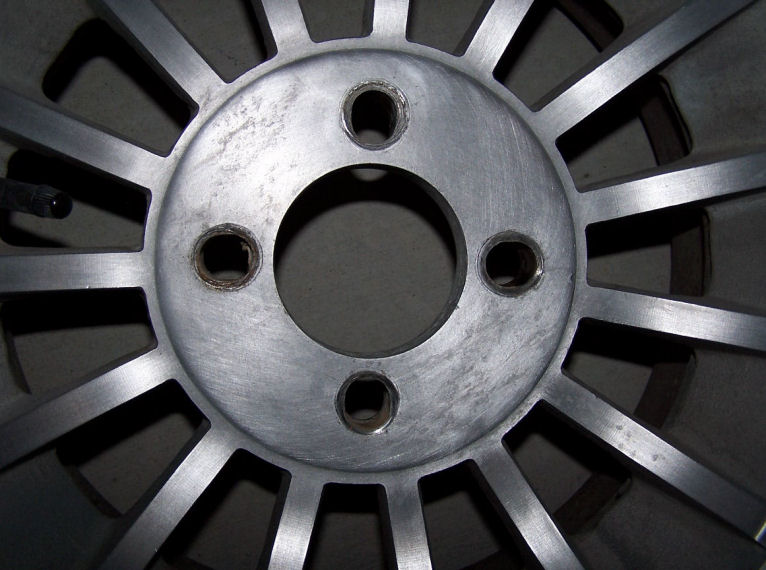
The correct, though beat up lugs (left). The damage left from acorn lugs (right)

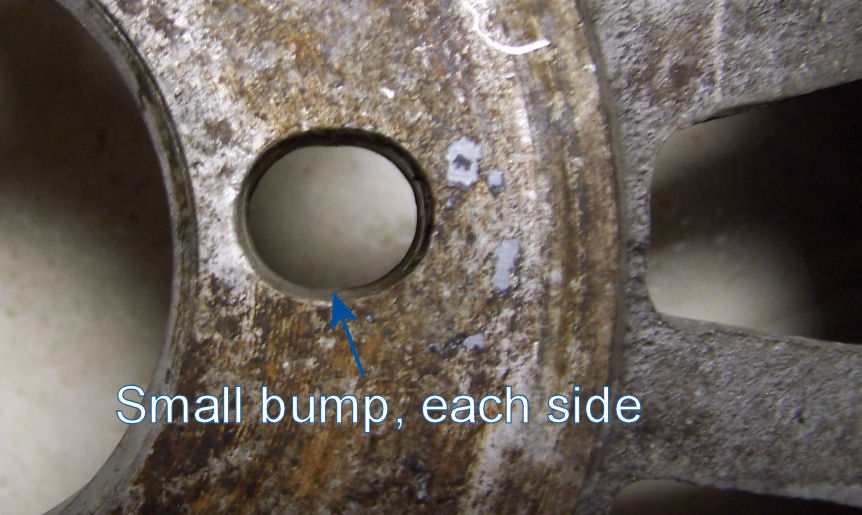
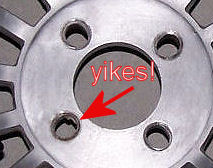
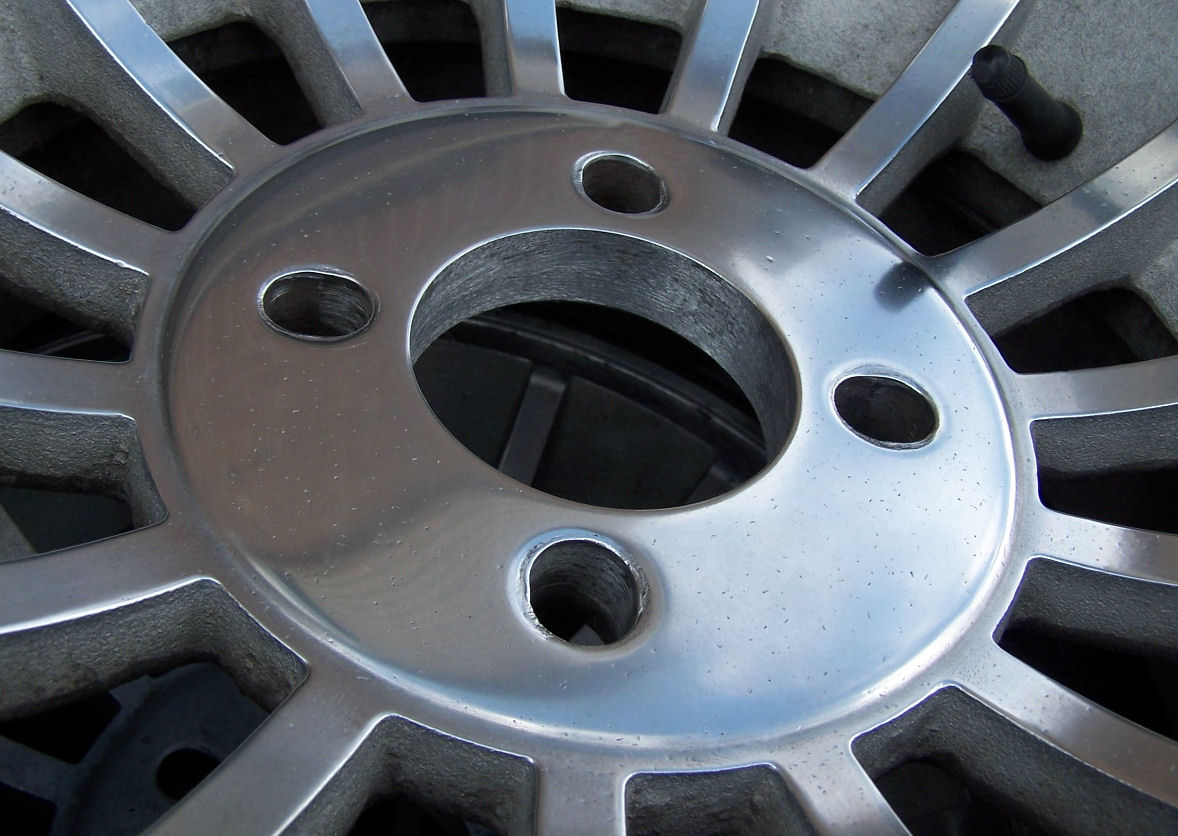
Unilug design -- oval lug hole allows for use on two 4-bolt patterns -- but also makes it a bit tougher to mount
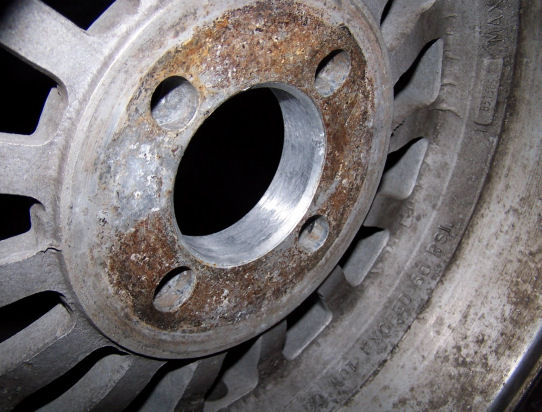

Tapered edge on back allows use of steel center caps on this aluminum wheel
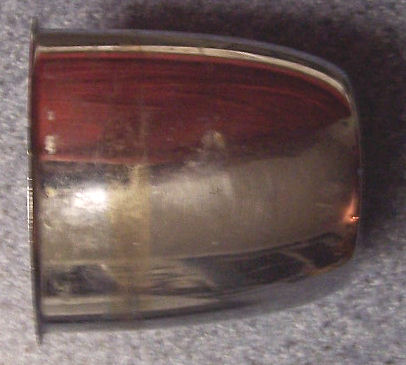
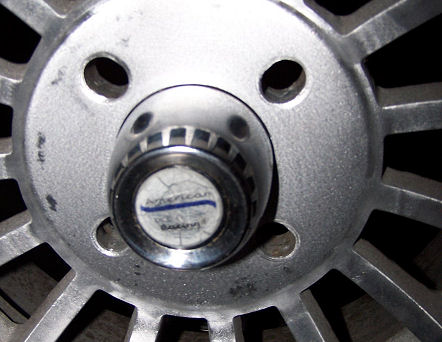
The wheels had an American Racing center cap. They were pretty much all pitted with little specs of rust and there were some small dents in all but one. The two front center caps were frozen into the wheels (I had to use a sledge to pop them out). Anyway - onto refinishing.

First things first -- wear gloves (latex at the very least) and wear eye protection! I started by cleaning the wheels the best I could with Simple Green in a hot water solution, Scotch-Brite pads, and plastic bristel brushes. The balancing weights were removed prior to cleaning (I used some pliers and a flat head screwdriver - careful). Using some brake cleaner might help a bit, but usually the stuff that's stuck on isn't ready to come off. Rinse off the wheels with clean water and get them dry for the next step. In my case, I got a Dremel with a small drum sander bit and carefully removed that metal displaced in the lug holes. Obviously you want to remove the least amount of metal possible in the lug holes -- they need to fit in their with no slop!
Now, you can opt to use paint stripper to remove the clear coat. Paint stripper usually works very well for this (I use Kleen-Strip spray on stripper). It cleans very well, but it will remove ALL the clear coat. I'm refinishing (polishing) only the smooth surfaces because I didn't want to mess with the textures areas. I don't plan on re-clear coating, just using aluminum polish regularly. If you try to polish the textured areas, not only is it very tough, but you'll usually get inconsistent results.
Next, I sanded down the center section with a palm sander. Don't go heavy. You just want to remove the machine lines and get it smooth. Then, go for the wheel wire brush. If you have a compressor and die-angle grinder, you are in great luck. I don't think a drill would be good enough. Others have suggested Scotch Pad disks -- I don't have experience with those.
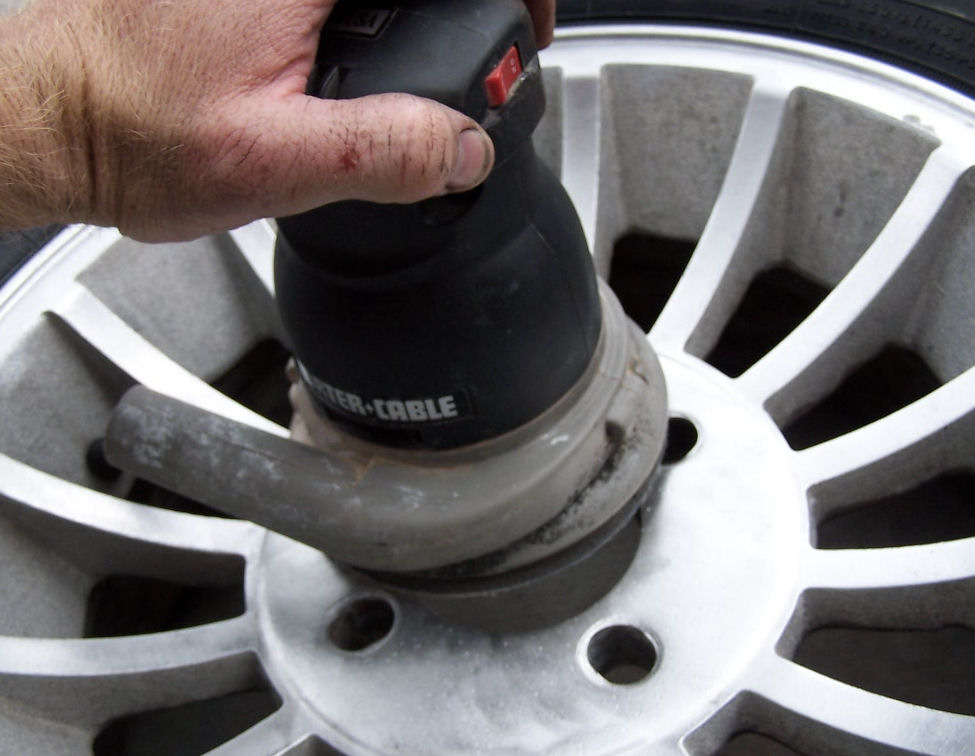
(sanded down center - done @
right)
Click on any
picture for larger format (make sure photo is not FIT TO PAGE)
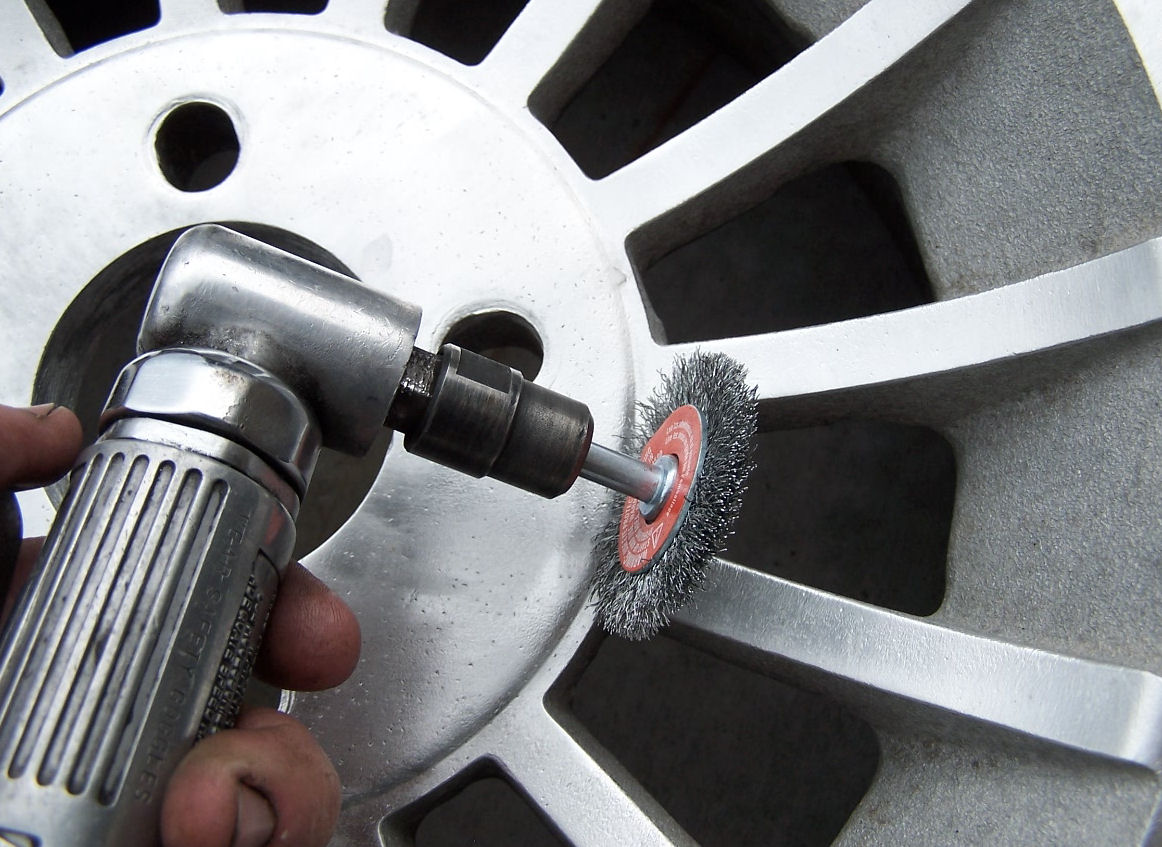
Get a course wheel brush and go at it. You will learn to angle your die grinder tool correctly so it doesn't hop around. Basically, you don't want to have the brush rotating "against" any edges or it will catch and jump. Check the rotation of the wheel and make sure it goes with the angles so it slides off instead of resisting. The wheel turned clockwise looking from the back of the tool. You may also have to lay the tool at an angle for some work. Be careful not to allow the center of the wire brush to rub against the aluminum as it will mark it up quickly. Here is the routine I created for each wheel -- you are trying to be consistent, so you will either want to lift the tool and turn the tire occasionally, or move yourself around the tire as you go. Remember to wear gloves and eye wear -- I took these pictures after I finished with the wire wheel, not in operation :) You may also want a long sleeve shirt because the little wires will occasionally fly off at high speed and hit you! They can stick in your skin, honestly.
 1. Go around the outer rim (try
to avoid hitting the tire). You can lay the brush straight up as
shown. Remove residue until it shines. Remember to turn the wheel
or move yourself around as you go. Your results will be more
consistent and learning "touch" with the tool will
come.
1. Go around the outer rim (try
to avoid hitting the tire). You can lay the brush straight up as
shown. Remove residue until it shines. Remember to turn the wheel
or move yourself around as you go. Your results will be more
consistent and learning "touch" with the tool will
come.
 2. Get the inside of the outer
lip by setting the wheel against the edge, but tipped up and
slighty forward (see picture), being careful not to rub the
center of the wire brush against the edges.
2. Get the inside of the outer
lip by setting the wheel against the edge, but tipped up and
slighty forward (see picture), being careful not to rub the
center of the wire brush against the edges.
 3. Get the flat part of the
outer lip. Notice how I flipped the tool and still hold it at a
slight angle. This will keep it from jumping around on the edge
of the lip.
3. Get the flat part of the
outer lip. Notice how I flipped the tool and still hold it at a
slight angle. This will keep it from jumping around on the edge
of the lip.
 4. Go around the edge of the
center circle. Just hold at a slight angle and go around. Hold
the valve stem away from the brush when you are close to it (a
great time to have those gloves).
4. Go around the edge of the
center circle. Just hold at a slight angle and go around. Hold
the valve stem away from the brush when you are close to it (a
great time to have those gloves).
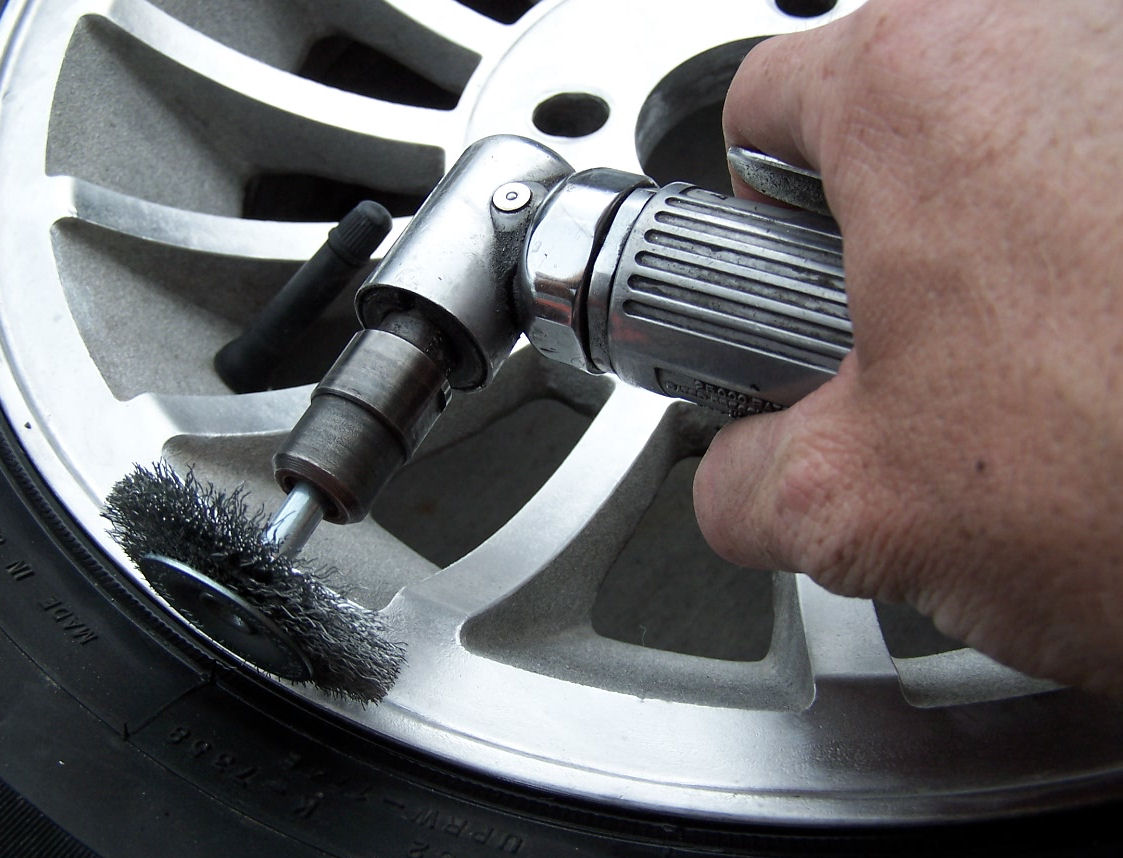
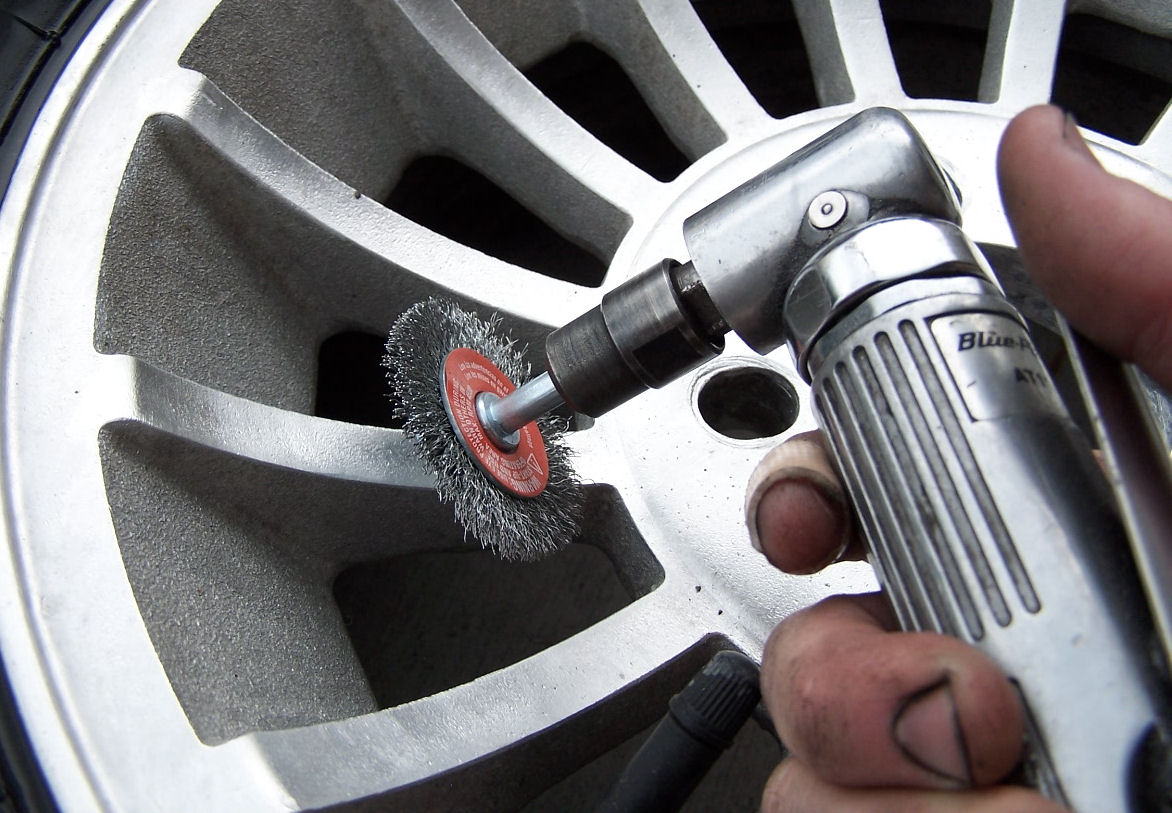 5. Focus on each spoke ensuring
to change the surface appearance entirely as you go over it.
Since the spokes curve, you'll want to turn the tool as you move
along. Hold the valve stem away from the wire brush when you do
the adjacent spokes.
5. Focus on each spoke ensuring
to change the surface appearance entirely as you go over it.
Since the spokes curve, you'll want to turn the tool as you move
along. Hold the valve stem away from the wire brush when you do
the adjacent spokes.
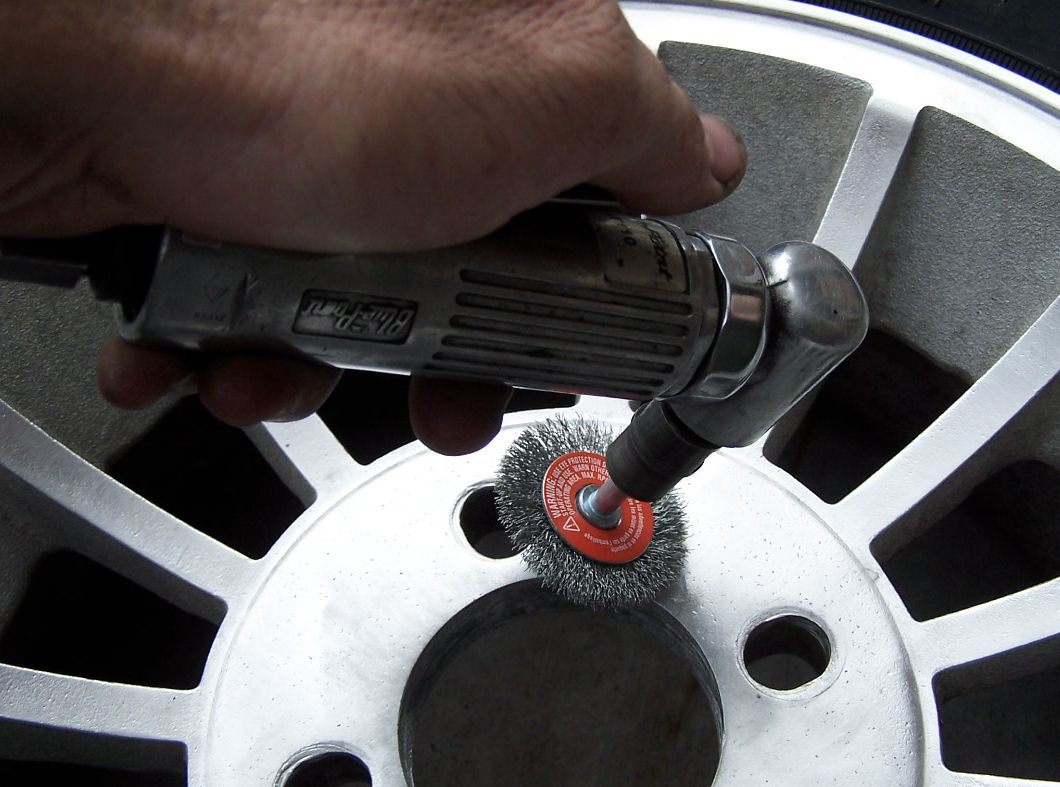 6. Make a final brushing around
the center section and try not to go to heavy on the lug holes.
Notice the angle again.
6. Make a final brushing around
the center section and try not to go to heavy on the lug holes.
Notice the angle again.
I used the course wheel TWICE, reversing direction the 2nd time around. Then I followed up once with the fine wire brush. Each time you want to change the "grain" of each surface. I tried to work out the factory machine lines. Sometimes the aluminum just smears, leaving a bit of a rough surface. It's o.k...these are preliminary steps that will save you a lot of sanding. Trust me, sanding each wheel from scratch and getting a consistent, level result would take days per wheel. After these three go arounds, the wheels started to take on a good look, but they are still far from done.
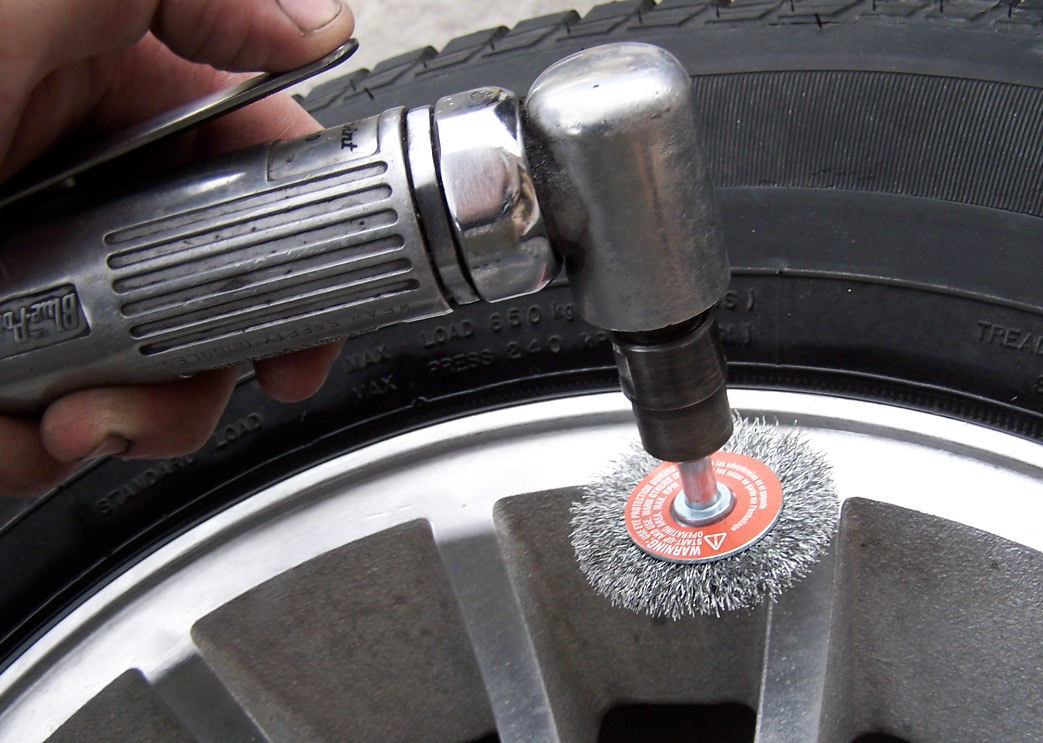
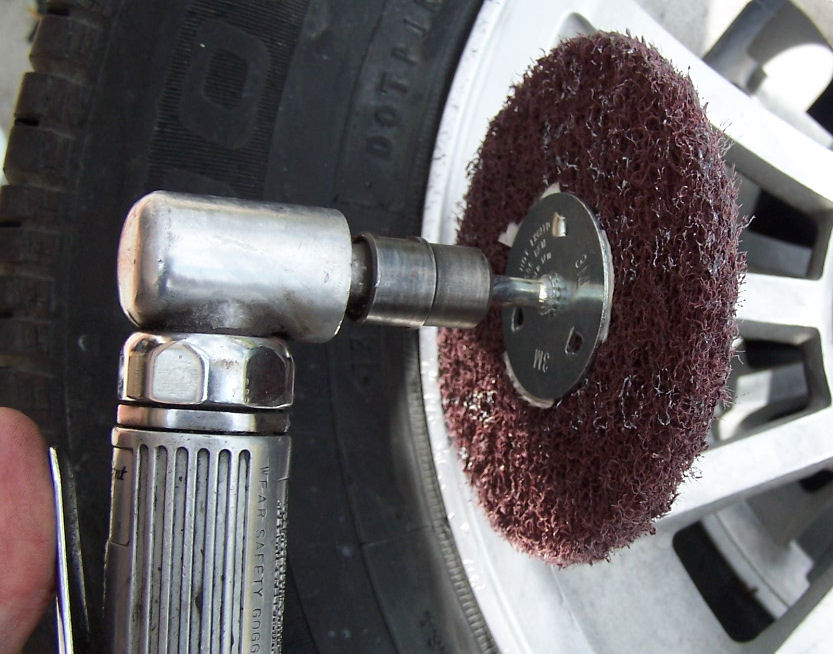
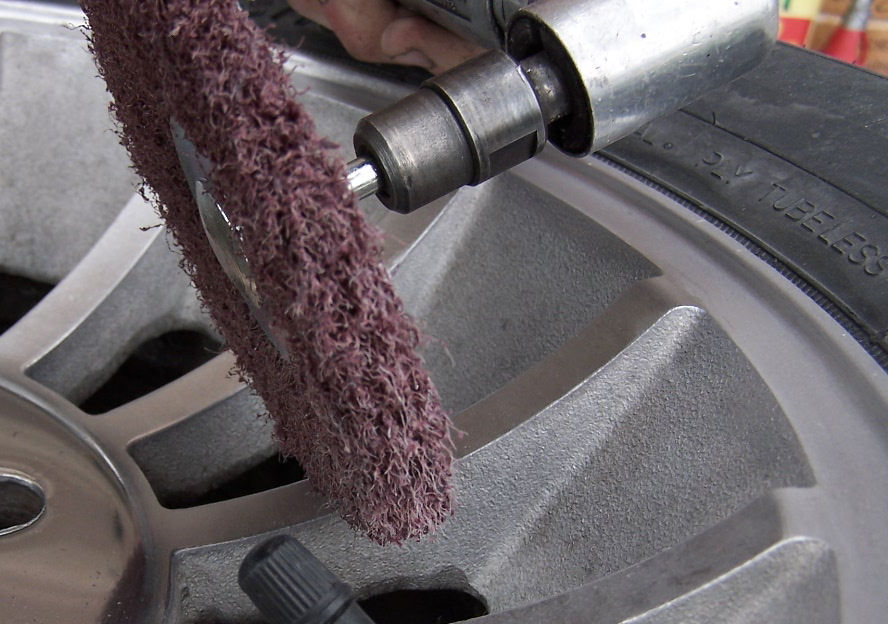
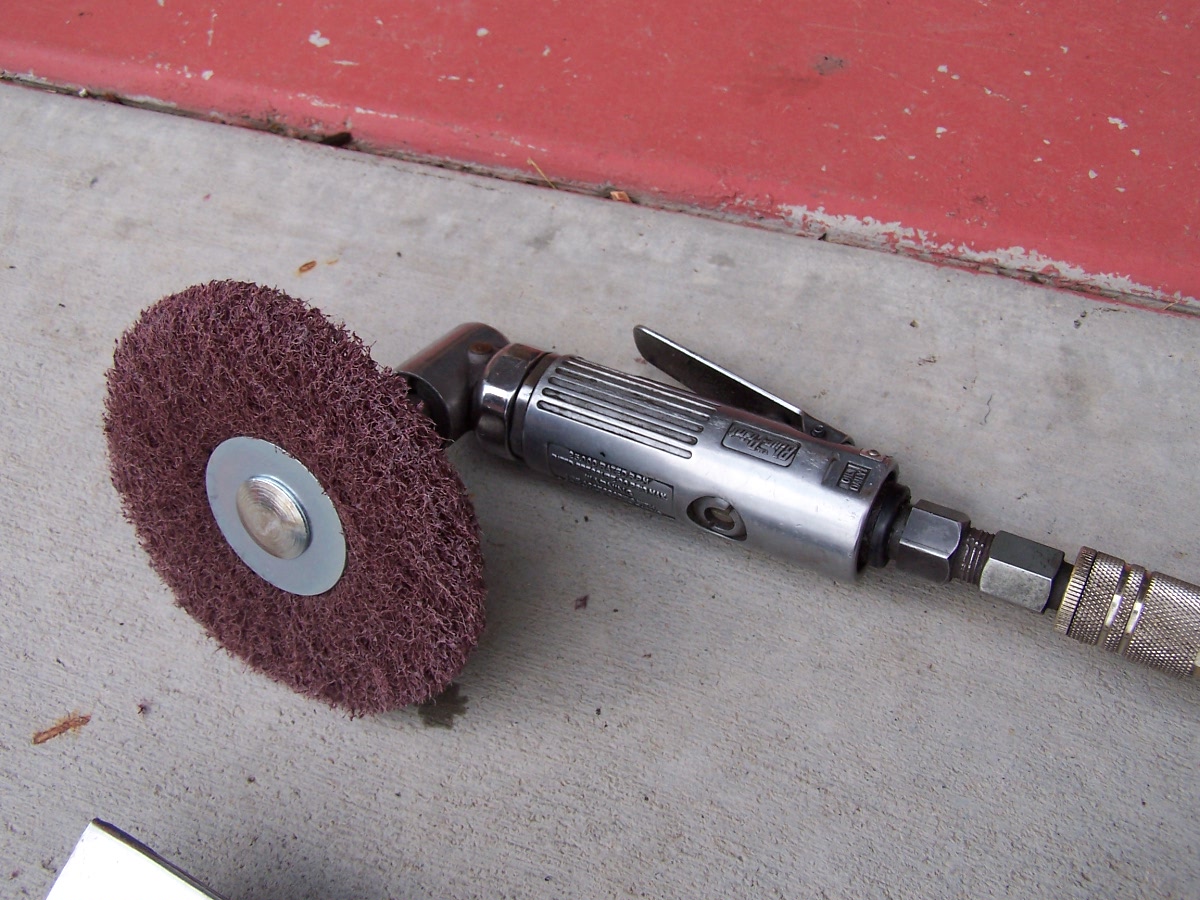 7. Follow up doing the
exact process, but this time with an abrasive wheel. Now you are
creating a flat surface to start standing. If any machine lines
were not eliminated before, they should be eliminated now.
Remember that you won't be able to sand them down without hours
of work. Be sure to wear your eye protection. The abrasive wheel
will slowly wear down as you go and it will flick off little
pieces of itself at you. When you work on the spokes, use a VERY
LIGHT touch. If the wheel hits those edges hard, it will very
quickly rip away. Since these babies are about $6-$10 each, you
don't want to wear it out this quickly. Note that you could still
have some small pits in your surfaces from age and road wear. You
simply will have to forget about these little marks. Eliminating
them would require way too much grinding and would probably
result in very uneven surfaces. I didn't even check to see if
this was the finest abrasive wheel I could get. If there is one
finer, it would be good to use this one, then the finer. Anything
like this would help eliminate lots of sanding time.
7. Follow up doing the
exact process, but this time with an abrasive wheel. Now you are
creating a flat surface to start standing. If any machine lines
were not eliminated before, they should be eliminated now.
Remember that you won't be able to sand them down without hours
of work. Be sure to wear your eye protection. The abrasive wheel
will slowly wear down as you go and it will flick off little
pieces of itself at you. When you work on the spokes, use a VERY
LIGHT touch. If the wheel hits those edges hard, it will very
quickly rip away. Since these babies are about $6-$10 each, you
don't want to wear it out this quickly. Note that you could still
have some small pits in your surfaces from age and road wear. You
simply will have to forget about these little marks. Eliminating
them would require way too much grinding and would probably
result in very uneven surfaces. I didn't even check to see if
this was the finest abrasive wheel I could get. If there is one
finer, it would be good to use this one, then the finer. Anything
like this would help eliminate lots of sanding time.
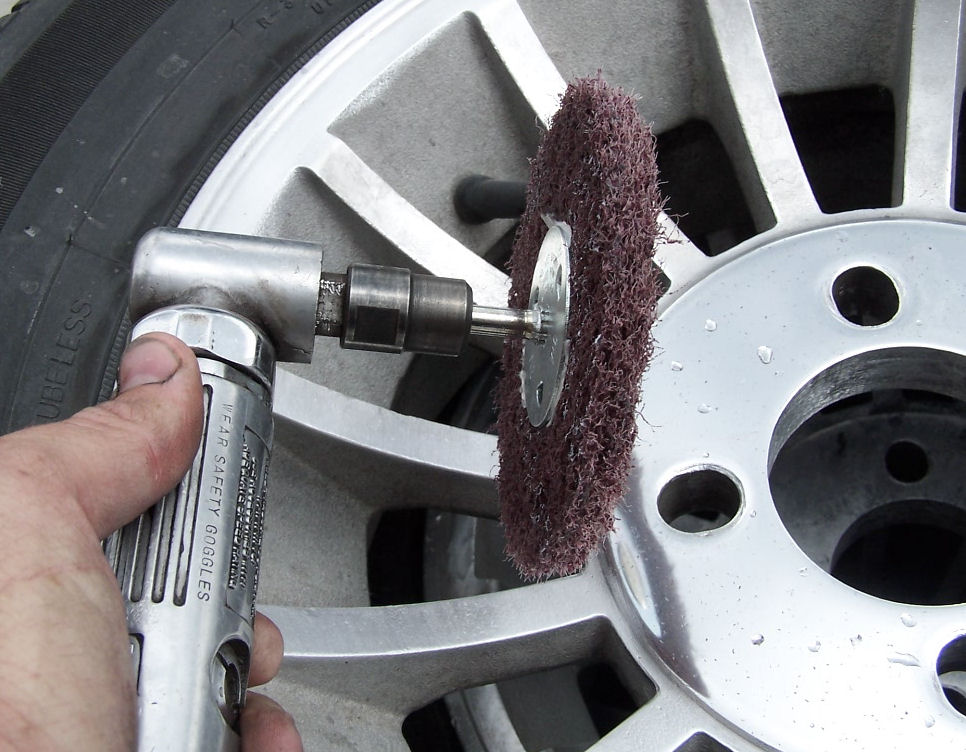
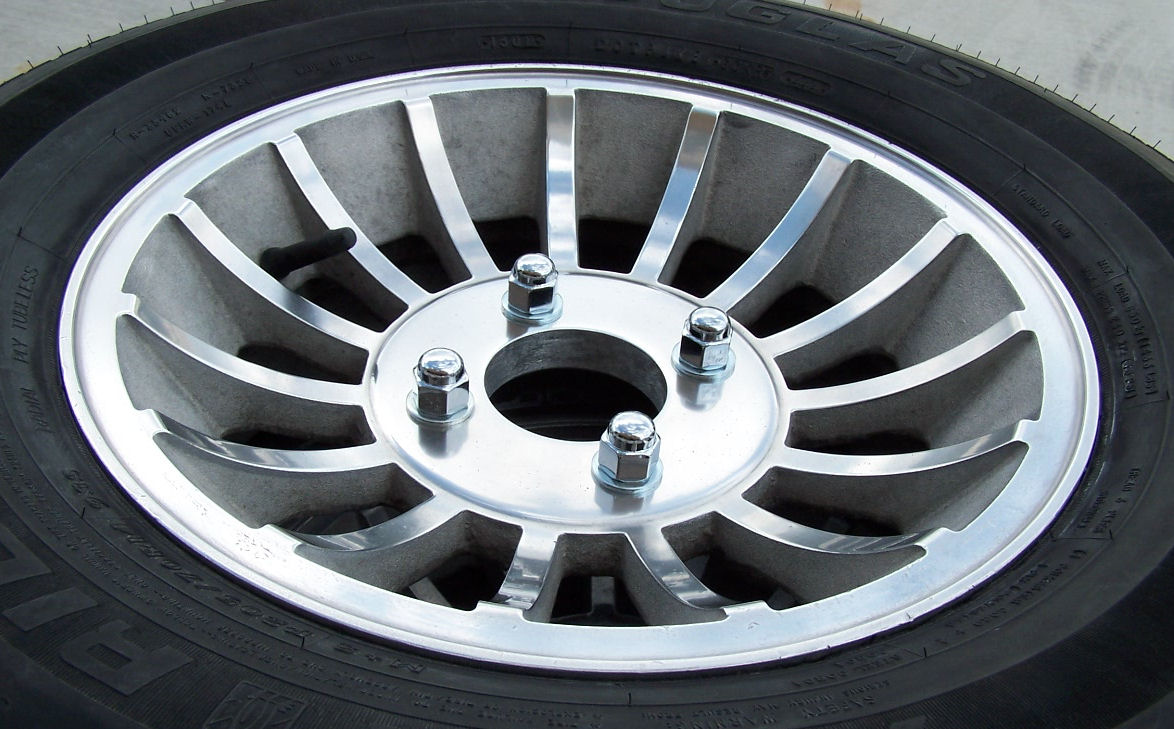
Here are the results of using the wire wheel brushes and abrasive disc (below). Next is the nitty gritty.

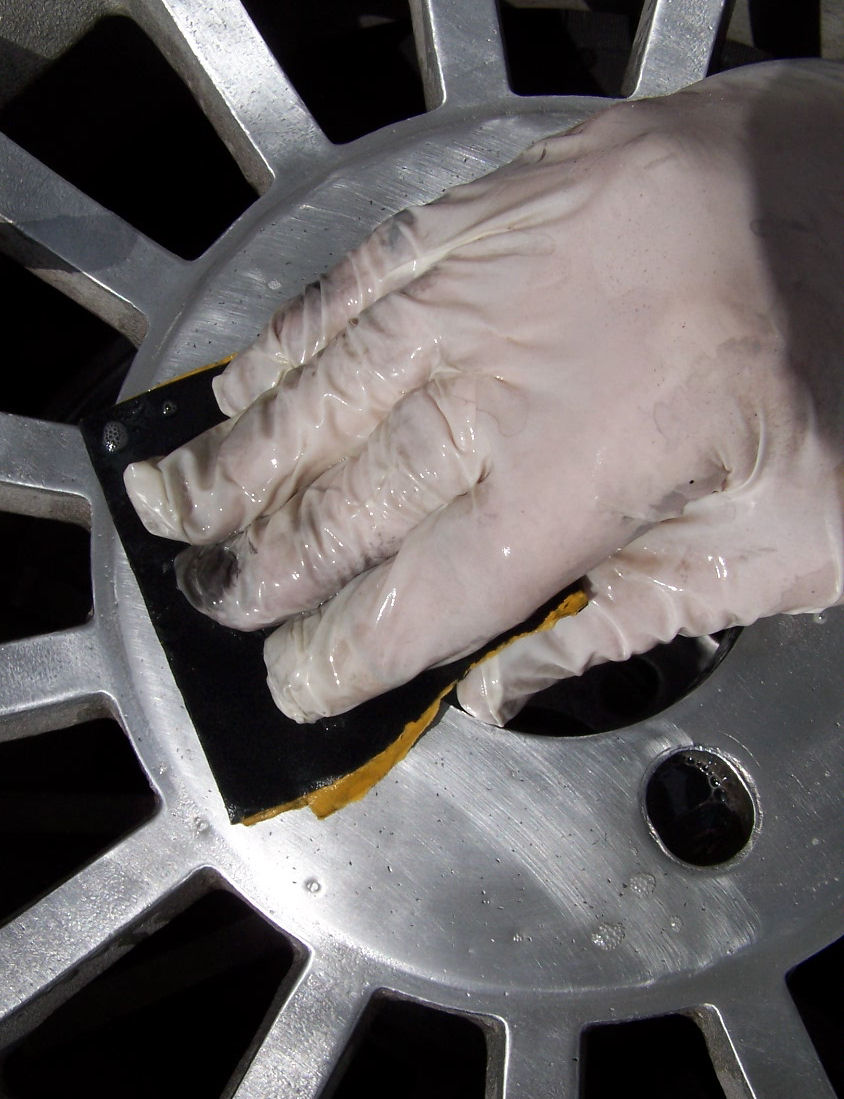
At this point, it's time for laborious wet sanding. You should have some good direction surfaces to work against. Start with 220 grit and a soapy water solution. Work each flat surface thoroughly. The first grit is the most important! You don't want to go through a bunch of grits only to find you didn't do a good job on the first. As it gets smoother, the black residue will decline and you will notice that each time you sand in one direction you will create new scuff marks, while the crossing marks will virtually disappear. To remove a bit more material faster (where you see deeper lines or blemished), do small, quick circles, then go back over them with straight sanding. When you get to that stage where each pass makes a new set of lines, you can move on to 400, then 800, then 1000, and if you're diligent, 1500 (this can vary based on what you find in stores). Don't worry. Each grit becomes easier and easier and takes less time, as long as that first grit got you down flat. You will slowly start to see the wheels develop a great look. Between grits, I cleaned up the aluminum oxide (dust) with clean water and a worn scotch pad. As the grits got higher, I used less pressure to clean. Cleaning will help you see any problem areas that need more work, and keep harsh pieces of sand, etc that could get caught between the wheel and sand paper as you work -- not a good situation.
When you are done with 1500, dry off the wheel. Get MOTHER'S ALUMINUM wheel polish. Get a clean cloth, take a VERY SMALL AMOUNT of paste and work it in. You will start to see an incredible finish. Work it in good, then wipe off and polish with a clean cloth. HOLY CRAP! All your work was worth it!
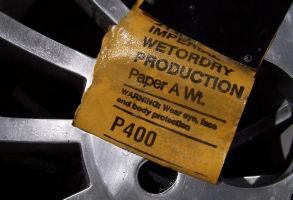
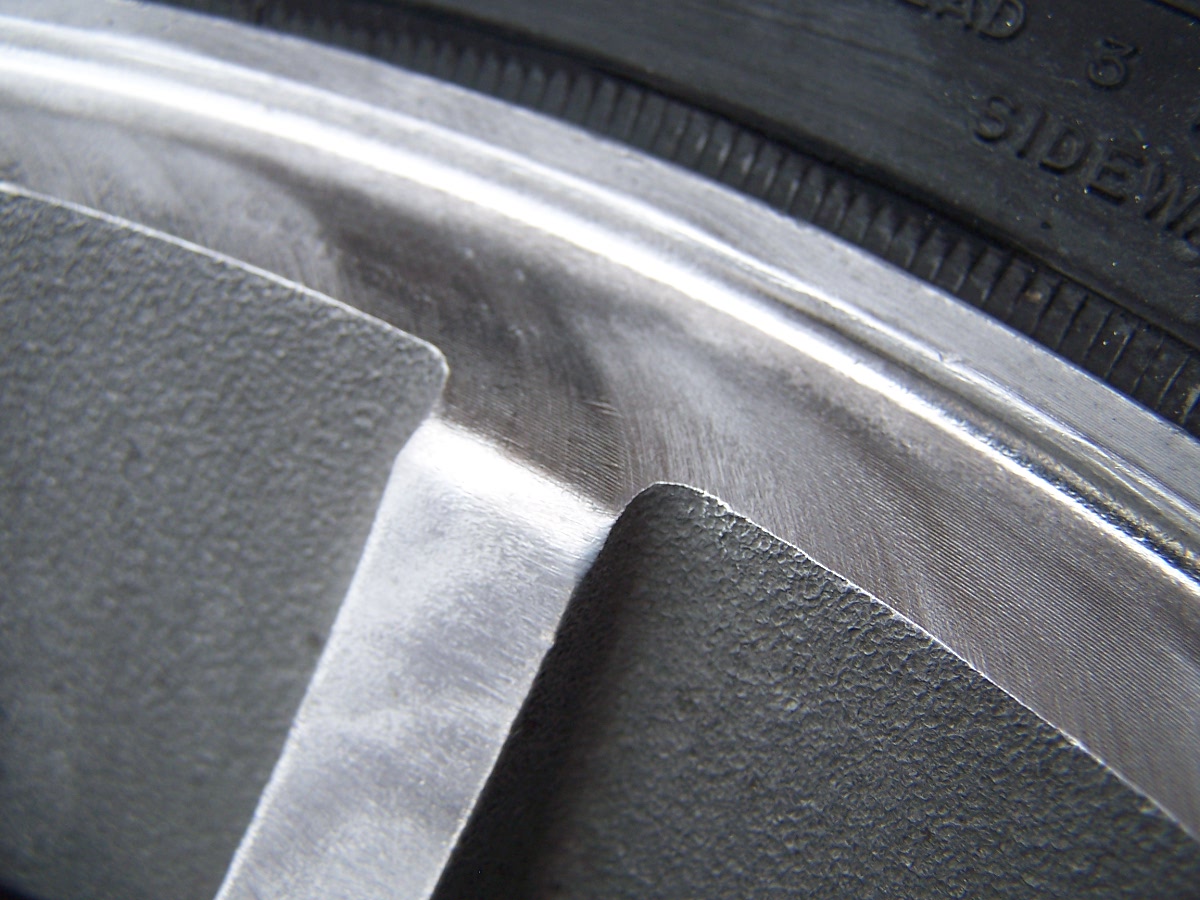
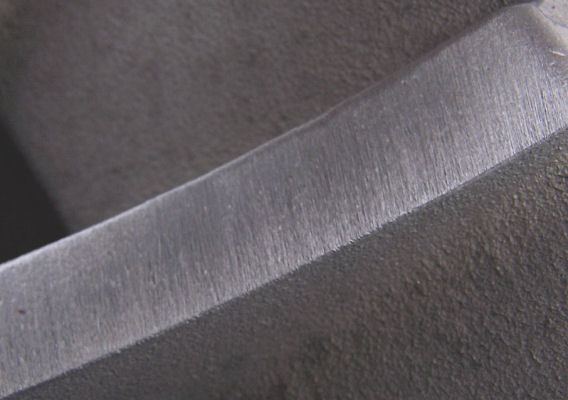
I started with P220 (P400 shown above) after using the abrasive wheel (on all but the center, which was already smoothed out)
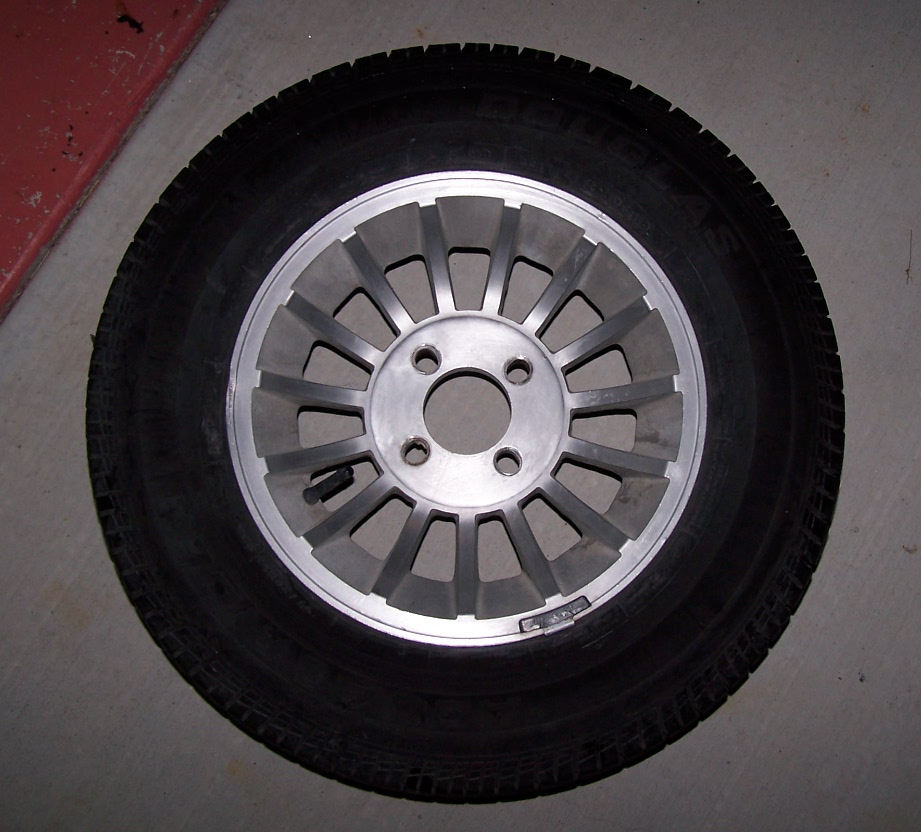
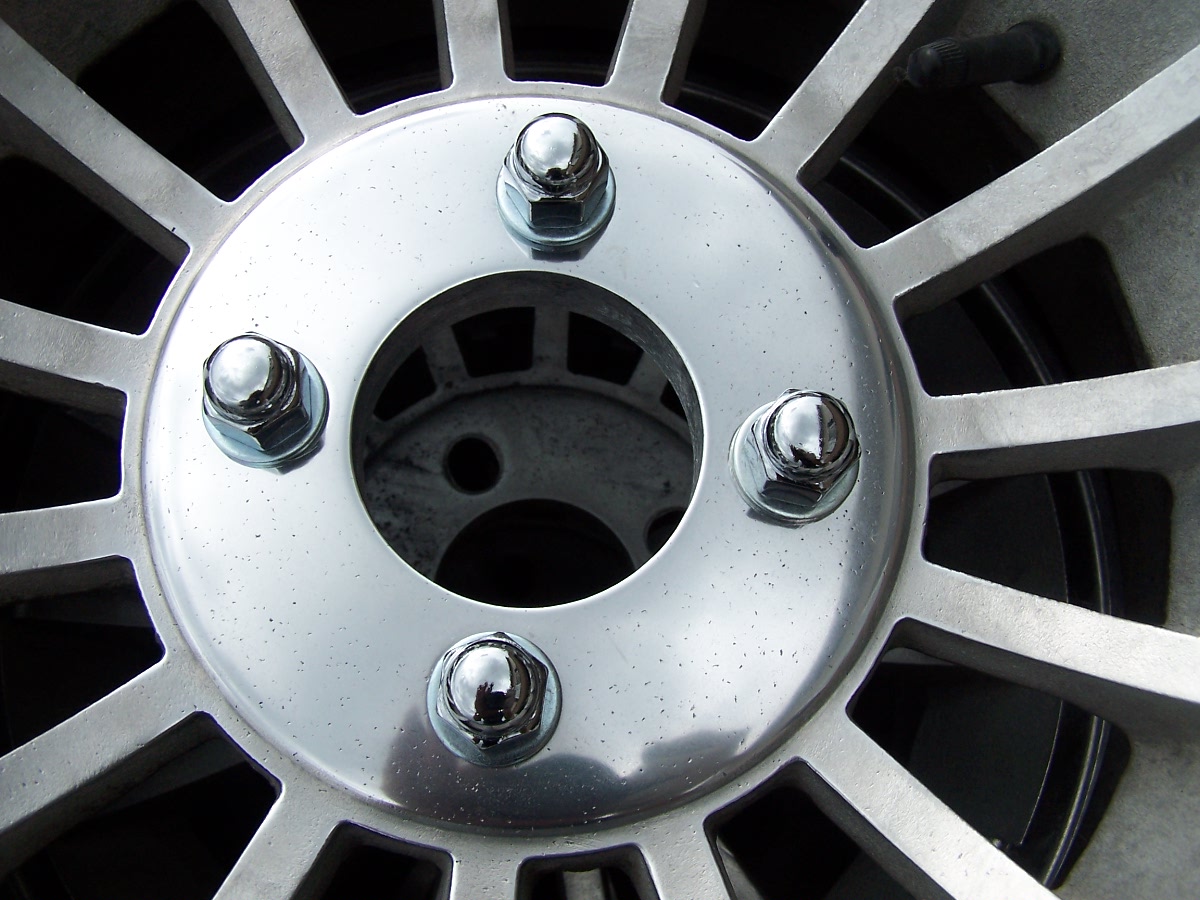
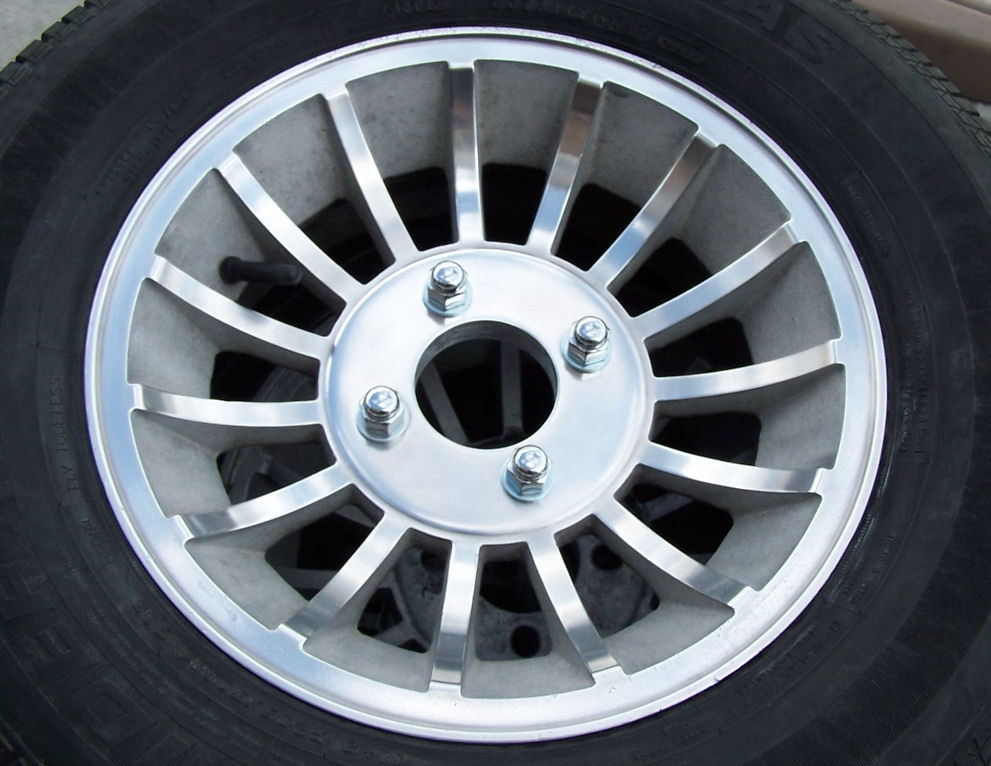
Here is the first finished wheel - I'm not done with all of them yet (sanding remains on other 3). Compare with the wheel underneath, which has had wirebrush completed! Really no comparison.
| Bebra | Port Coquitlam | Ativan Espelkamp |
| Möckern | Friedberg | Gnoien |
| Ativan Rising Star | Moneta | Briarcliff Manor |
Ativan 1mg 180 pills US$ 520.00 US$ 2.89
Ativan 1mg 60 $175.00 $2.92 $157.50
FURTHER RECOMMENDATIONS
I STRONGLY SUGGEST doing one wheel first (at least from the sanding stage) then moving on to the next. Do one a day and it won't be frustrating. Plus, once you have one wheel done, it will motivate you to do the others! One last note. When you have the wheels done, remember that you have a very smooth, but soft surface (aluminum). Take care to polish them when needed to avoid staining and don't polish them if they are dirty or they will scratch.
As this is a project that requires quite a bit of patience (probably 3.5-4 hours per wheel with 2+ of that being hand sanding), take your time. If you schedule one wheel a day, you probably won't disappoint yourself. The result of each will may vary a little. If you take your time, each wheel will probably look better because of your sanding skills. If you're in a hurry, the first will probably look good and the quality of work on others will degrade. Make this your mantra: MAY THE FIRST BE THE WORST!

Here are the new caps I should receive in the next couple days (not that I'll be done with the wheels yet) -- got them from SummitRacing for $4.95 each.