Spare Tire Well Rust Fixing/Repaint
Click on any picture for larger format (make sure photo is not FIT TO PAGE)
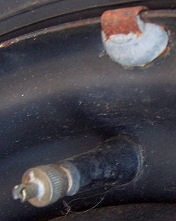
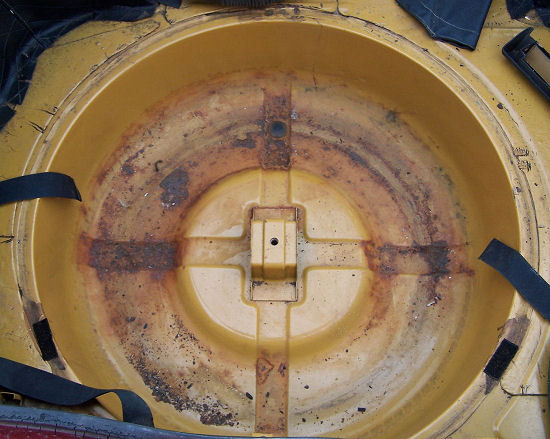
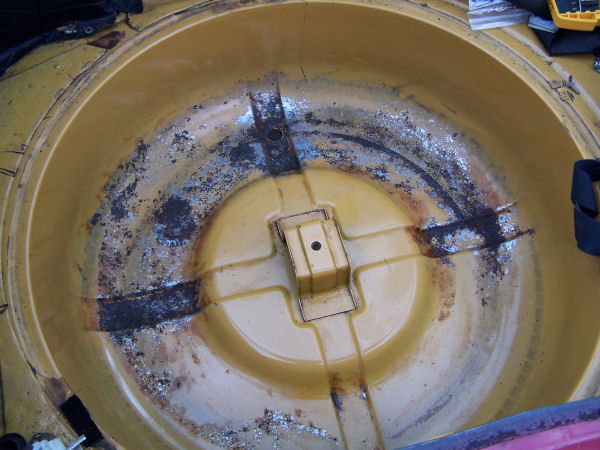
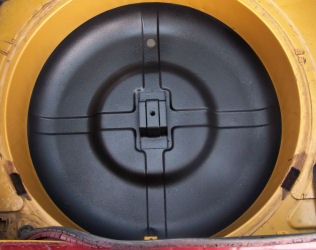
Notorious on the 240z is spare tire well rust. When I purchased my '71 240z in 2006 (35 years), I was actually pretty fortunate to find only a bit of rust in there. Here is what I saw as I first removed the spare tire (see above, left)
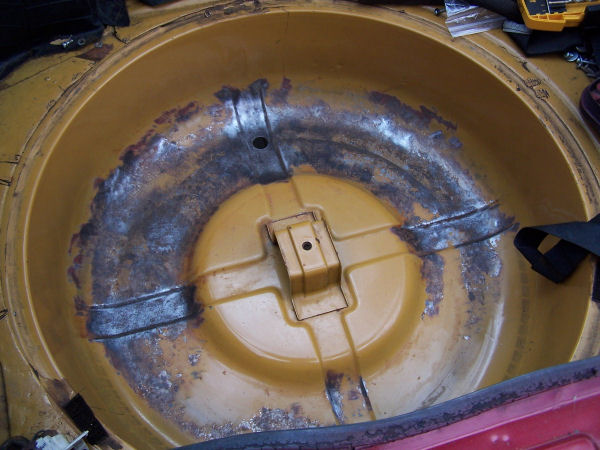
The process to freshend up the finish for my Z was straight forward. First, I removed the rubber plug and brushed out any lose dirt, rust, and other debris. Then I took some fresh water and a towel and just cleaned things up a little to see what I was in for, then let it dry. I also cleaned up the surrounding areas (around the well) to make sure no dirt would interfere with the process later. After that, a good scrubbing with a wire brush freed up any loose paint and bubbling rust. Again, I cleaned out the well to access the situation. Again, I let the area dry.
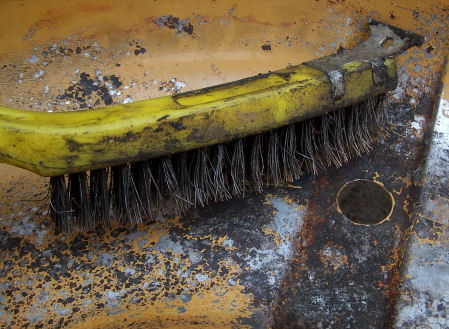
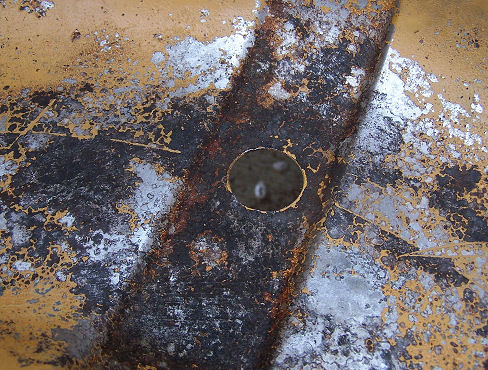
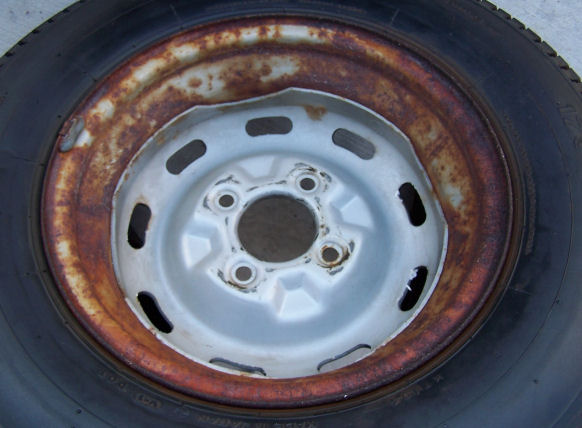
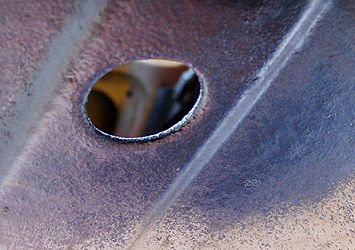
Then it was time for more serious work - eye protection, dust mask, and gloves please! I took a wire wheel brush on an angle-die grinder and went to town. I tried to limit the brushing to only the highest reaches of rust (about 1 1/2" above the bottom surface). I went over everything thoroughly, and cleaned out again. Then I took an abrasive wheel and did the same, thoroughly. After this step, most of the rust was entirely removed along with some paint. All the steel was still good and strong, even the plug hole was still almost perfectly round. So, I was VERY lucky.
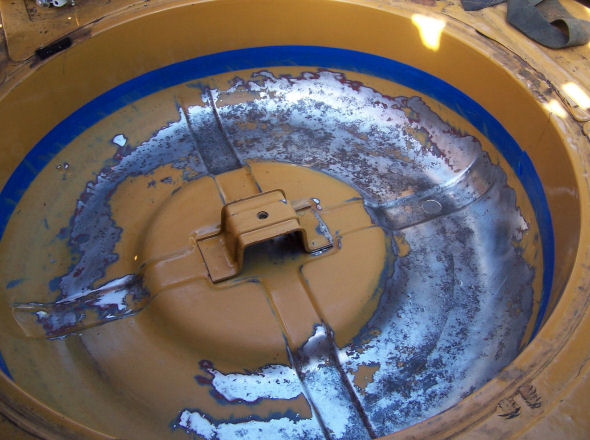
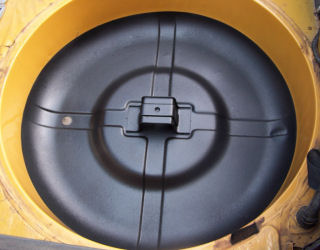
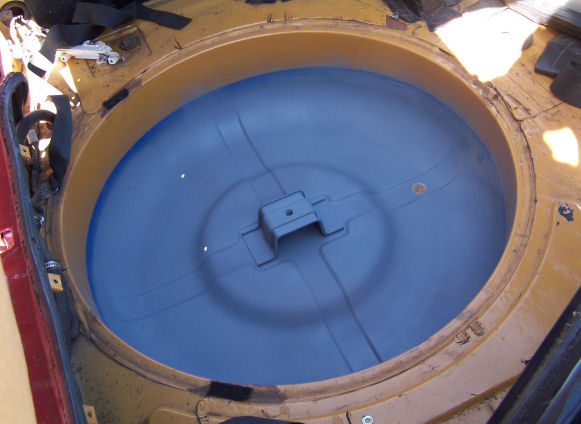
The last step was prep and paint. I used a Rust-Converter (DupliColor, in a can) and lightly coated any area I brushed at. Then I put a strip of tape around the bottom area matching the top line of the area I had brushed. I only wanted to paint was was absolutely necessary. I took 400 grit sand paper and sanded away at everything below this line (using a Simple Green and water solution). I wanted to make sure any oil, dirt, etc was washed away and that the surface was roughened for primer. Since there was a lot of unaffected original paint, it needed to be prepped for a new coat. I again throughly cleaned the area, then washed it down with fresh water and dried completely (also using an air compressor to assist in crevaces). I then applied a "flash coat" of primer, then followed with a light coat. All ready for a top coat in 30 minutes, although I waited a full day for curing. I used DupliColor spray on bedliner (in a can) to top coat this application. Very easy to use, and quick drying. Looks pretty good, and more importantly, no more rust!


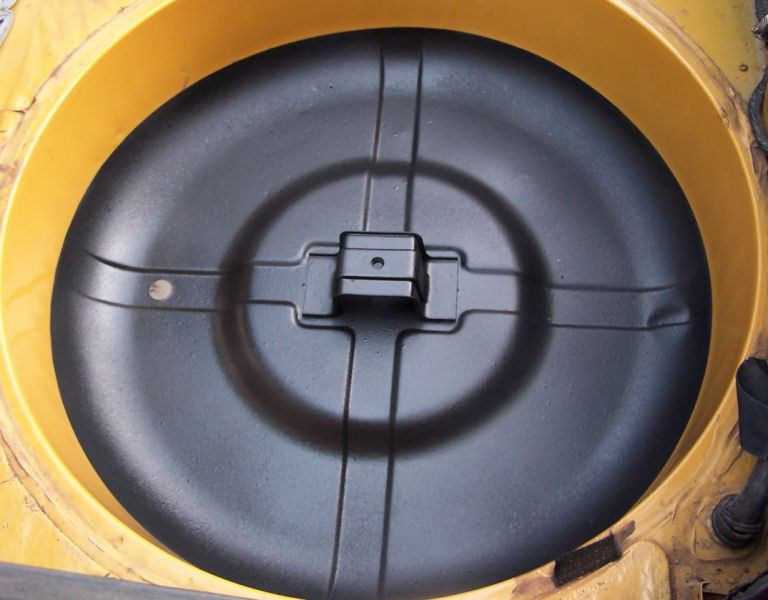
As a final precaution I checked underneath the tire well (from outside) to see if there was any external rust. I touched up the plug hole from the bottom. I happened to have the fuel tank out as another project, so it was very easy to attend to.
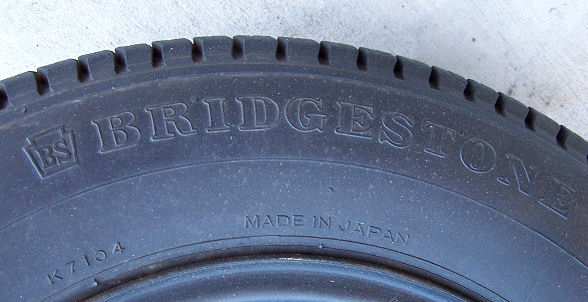
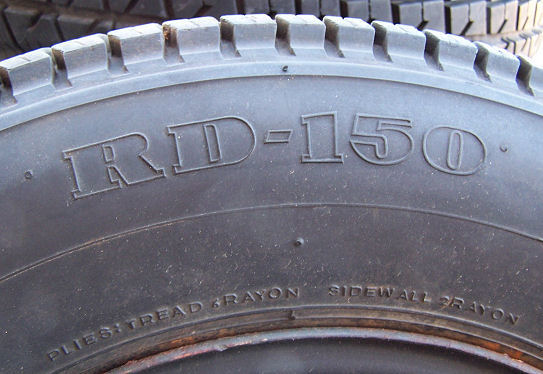
I was also surprised to see what looks to be an original spare tire in pretty good condition, hardly used. Cool, heh?